Two-Factor Authentication (2FA)
To enhance the security of your Nebeus account, you can enable Two-Factor Authentication (2FA) using Google Authenticator. Follow the steps below to add 2FA to your Nebeus account via the web version:
- Open Settings: Log in to your Nebeus account and click on the avatar or profile icon located in the top right corner of the screen.
- Access Security Settings: From the dropdown menu, select "Settings." This will take you to the account settings page.
- Choose Security: On the account settings page, locate and click on the "Security" option from the list of available settings.
- Enable 2FA: Under the Security section, you will find the option to enable Two-Factor Authentication. Click on the "Enable" or "Activate" button next to the 2FA option. This will initiate the setup process.
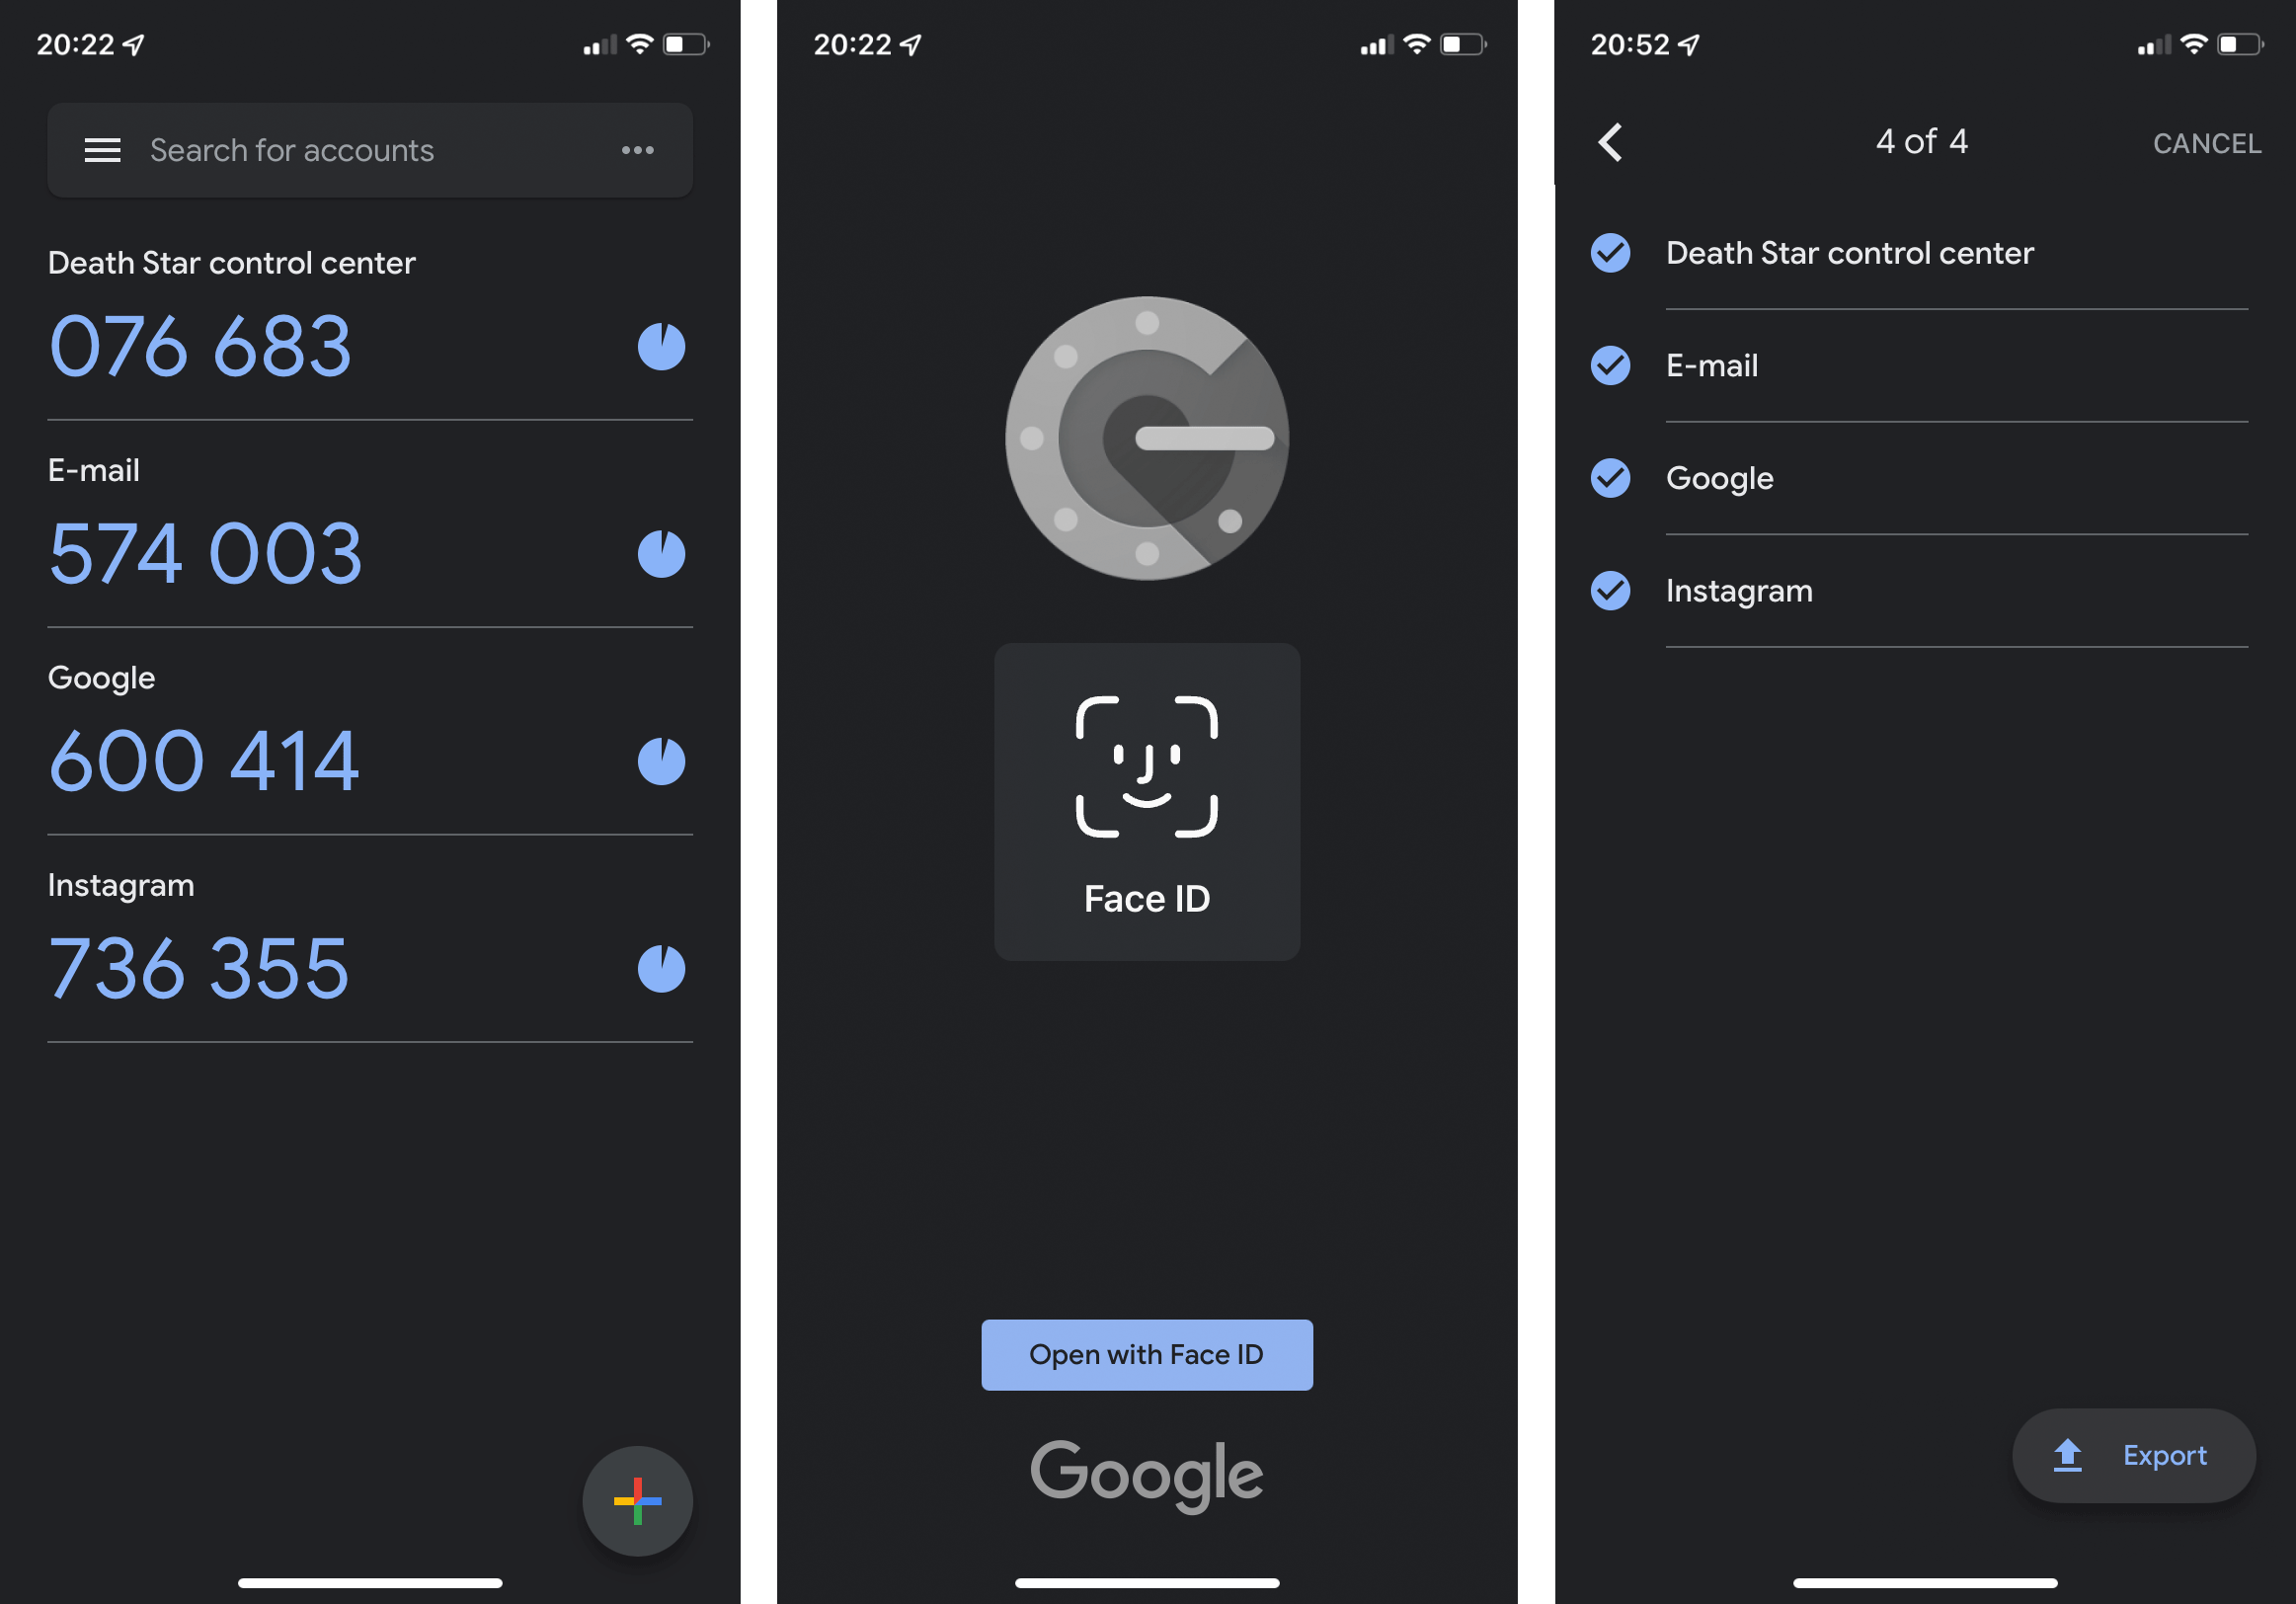
- Install Google Authenticator: If you haven't already, install the Google Authenticator app on your mobile device. It is available for both Android and iOS.
- Scan QR Code (Web Version): On the Nebeus website, you will see a QR code displayed on the screen. Open the Google Authenticator app on your mobile device and select the option to scan a QR code. Use your device's camera to scan the QR code shown on the Nebeus website.
- Insert Manually (Mobile App): If you are using the Nebeus mobile app and cannot scan the QR code, you can manually enter the details. On the web version, you should see an option to "Insert Manually" or "Enter Key." Tap on it, and Nebeus will display a secret key consisting of six digits. Open the Google Authenticator app on your mobile device and choose the option to manually add an account. Enter the secret key provided by Nebeus into the app.
- Generate a Verification Code: Once the QR code is scanned or the secret key is manually entered, Google Authenticator will generate a six-digit verification code. This code changes every 30 seconds.
- Enter the Verification Code: Return to the Nebeus website or app and enter the current verification code generated by Google Authenticator into the designated field. This verifies that the 2FA setup was successful.
- Save and Confirm: After entering the verification code, click or tap on the "Save" or "Confirm" button to save your 2FA settings.

Congratulations! You have successfully added Two-Factor Authentication (2FA) using Google Authenticator to your Nebeus account. Now, every time you log in to your account, you will be prompted to enter a verification code generated by the Google Authenticator app on your mobile device for an added layer of security.
Related Articles
Common Technical Issues
Login Problems: Ensure that you are using the correct login credentials and OTP code. We utilize passwordless technology, so there is no need to remember a constant password. If the issue persists, reach out to our customer support team for further ...How to Update OTP (One-Time Password) Settings
One-Time Passwords (OTP) provide an extra layer of security to your Nebeus account. By enabling OTP, you can receive confirmation codes via SMS or email. This guide will walk you through the process of updating your OTP settings. Step 1: Log In to ...